

Seed Starting Kits Giveaway 2020
go.ncsu.edu/readext?731955
en Español / em Português
El inglés es el idioma de control de esta página. En la medida en que haya algún conflicto entre la traducción al inglés y la traducción, el inglés prevalece.
Al hacer clic en el enlace de traducción se activa un servicio de traducción gratuito para convertir la página al español. Al igual que con cualquier traducción por Internet, la conversión no es sensible al contexto y puede que no traduzca el texto en su significado original. NC State Extension no garantiza la exactitud del texto traducido. Por favor, tenga en cuenta que algunas aplicaciones y/o servicios pueden no funcionar como se espera cuando se traducen.
Português
Inglês é o idioma de controle desta página. Na medida que haja algum conflito entre o texto original em Inglês e a tradução, o Inglês prevalece.
Ao clicar no link de tradução, um serviço gratuito de tradução será ativado para converter a página para o Português. Como em qualquer tradução pela internet, a conversão não é sensivel ao contexto e pode não ocorrer a tradução para o significado orginal. O serviço de Extensão da Carolina do Norte (NC State Extension) não garante a exatidão do texto traduzido. Por favor, observe que algumas funções ou serviços podem não funcionar como esperado após a tradução.
English
English is the controlling language of this page. To the extent there is any conflict between the English text and the translation, English controls.
Clicking on the translation link activates a free translation service to convert the page to Spanish. As with any Internet translation, the conversion is not context-sensitive and may not translate the text to its original meaning. NC State Extension does not guarantee the accuracy of the translated text. Please note that some applications and/or services may not function as expected when translated.
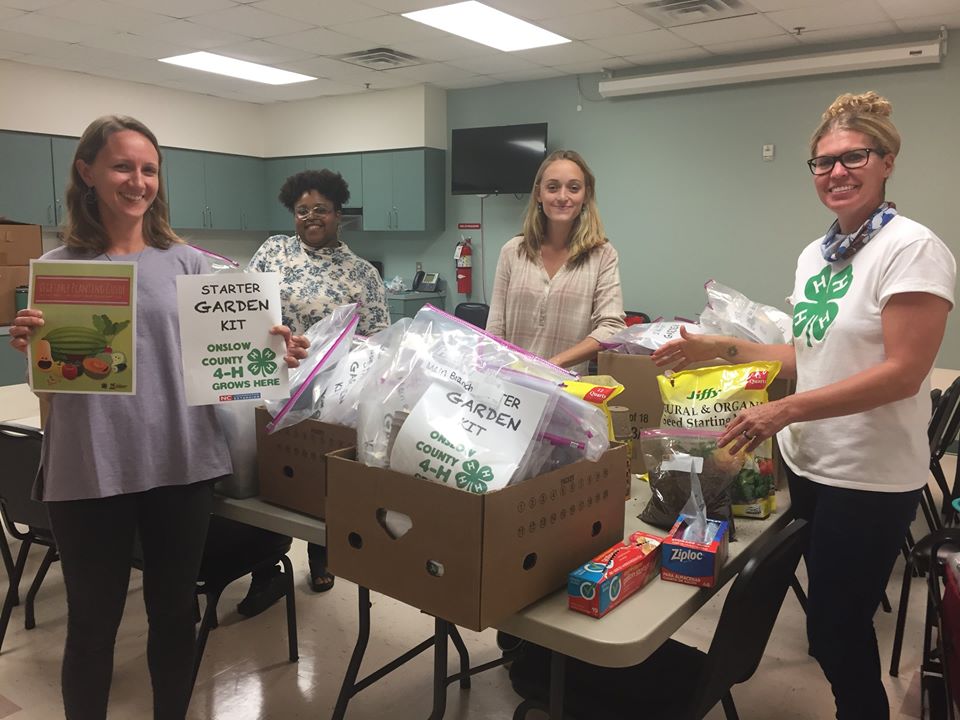
Collapse ▲In an effort to encourage youth to participate in gardening, N.C. Cooperative Extension, Onslow County Center offered FREE seed starting kits to youth in Onslow County!
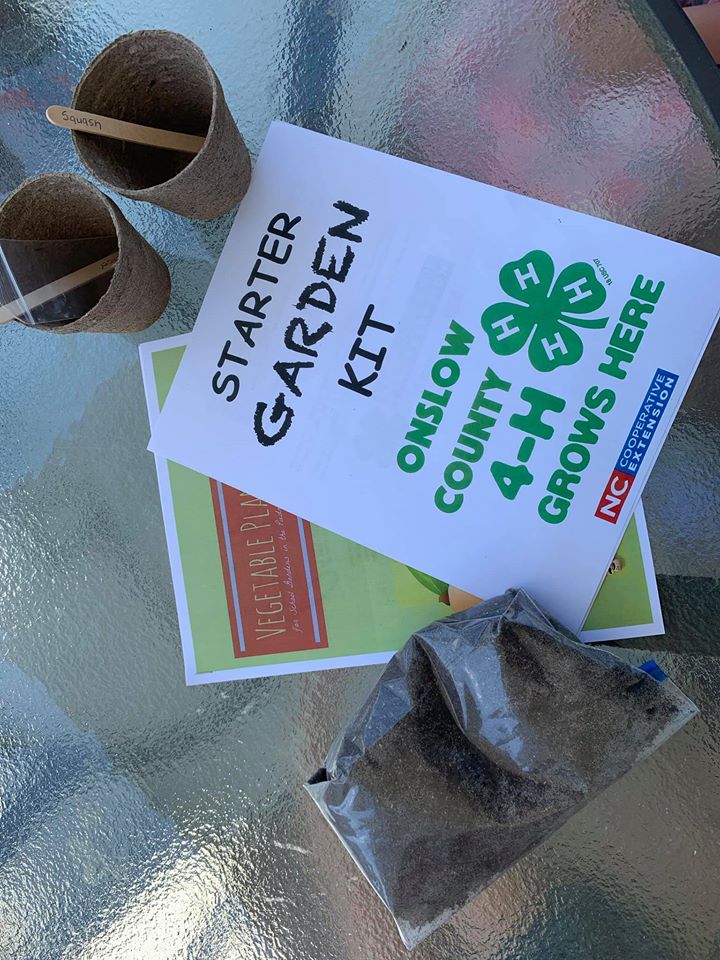
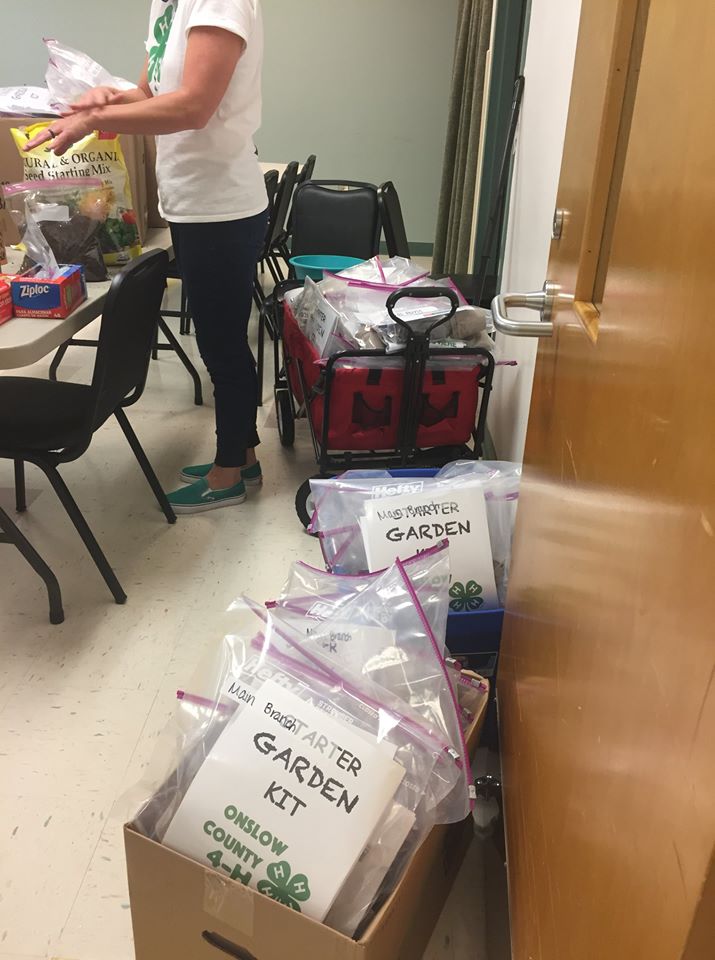
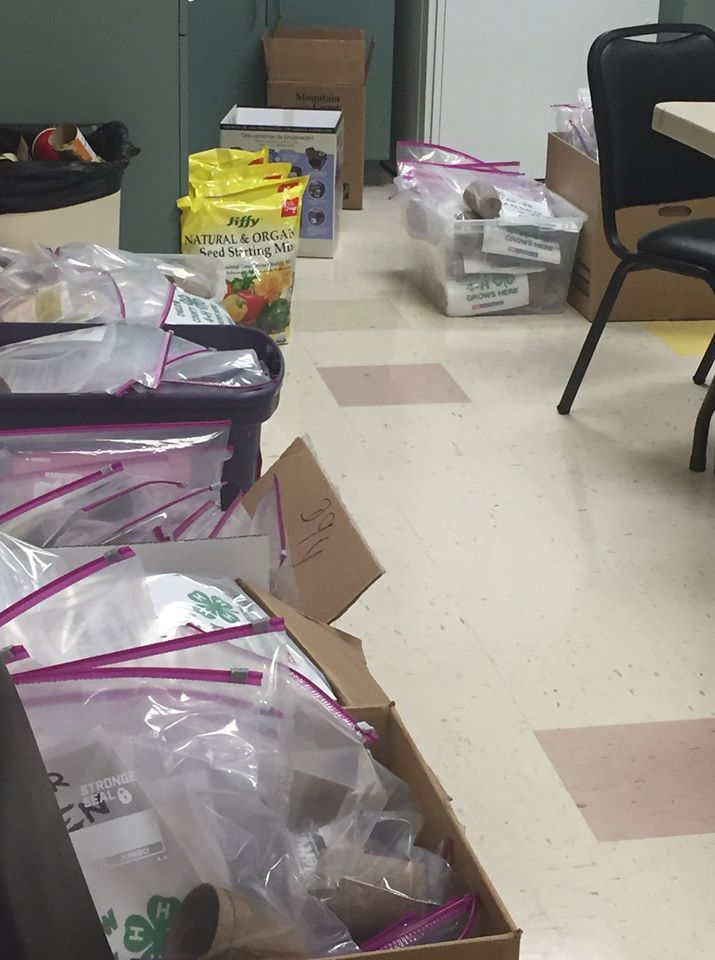
Our Onslow County staff assembled the seed starter kits and were able to distribute them to OVER 300 FAMILIES!
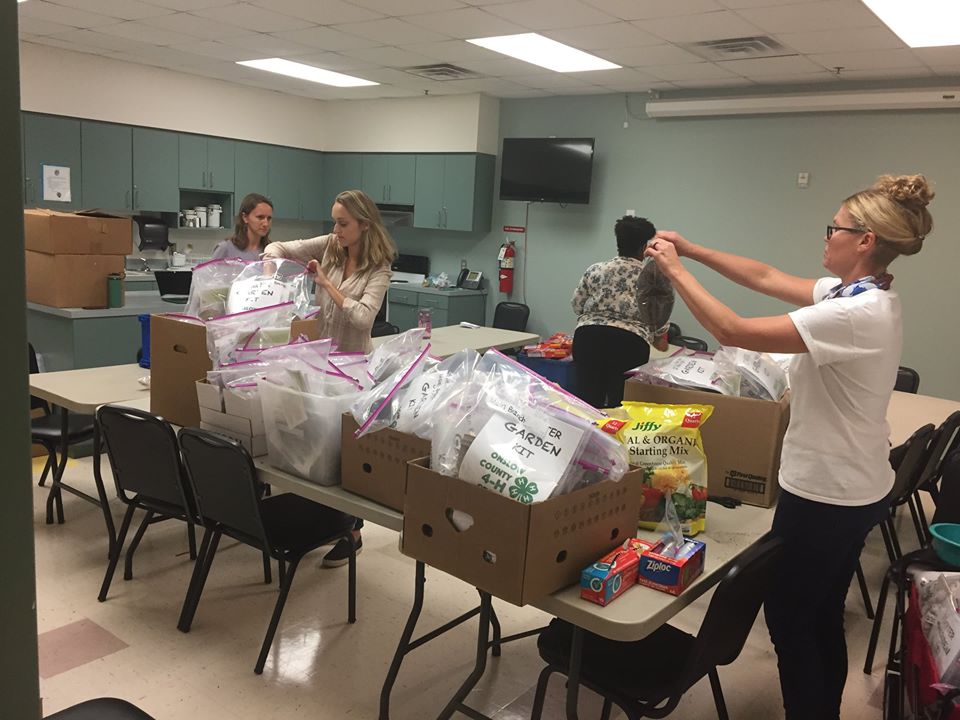
During the week of April 27, 2020, Onslow County youth received seed starting mix, peat pots, cucumber, and squash seeds, and lots of great information on how to get started!
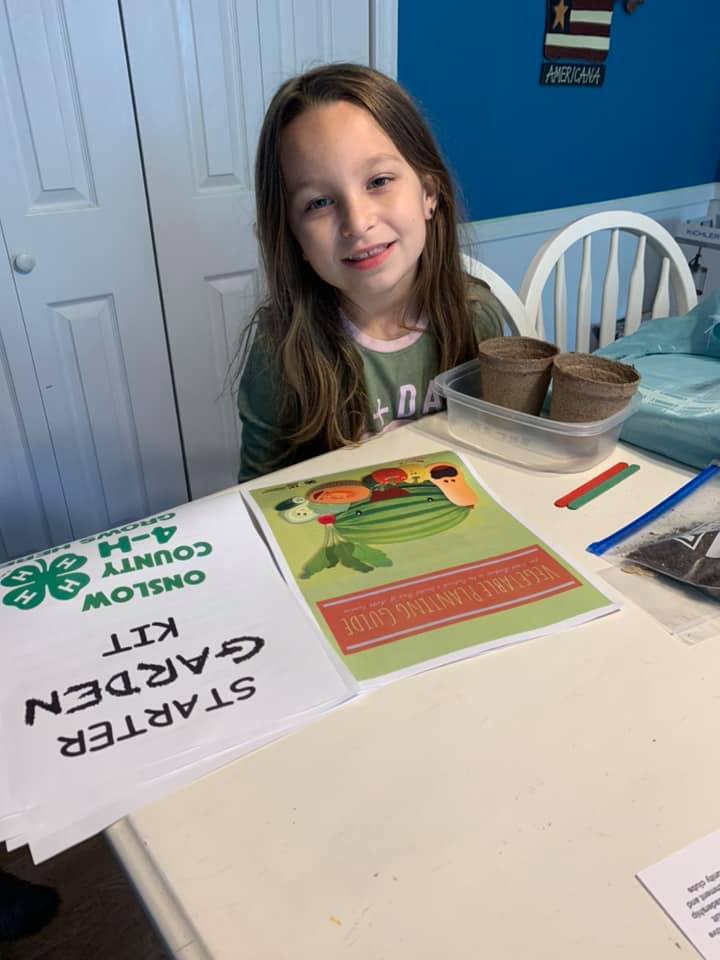
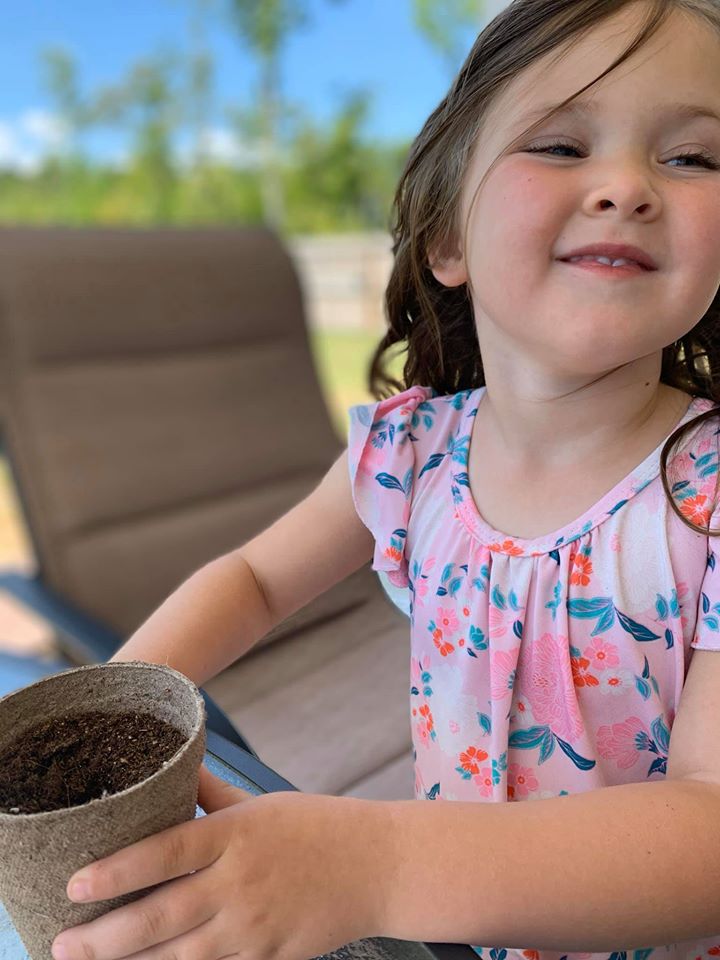
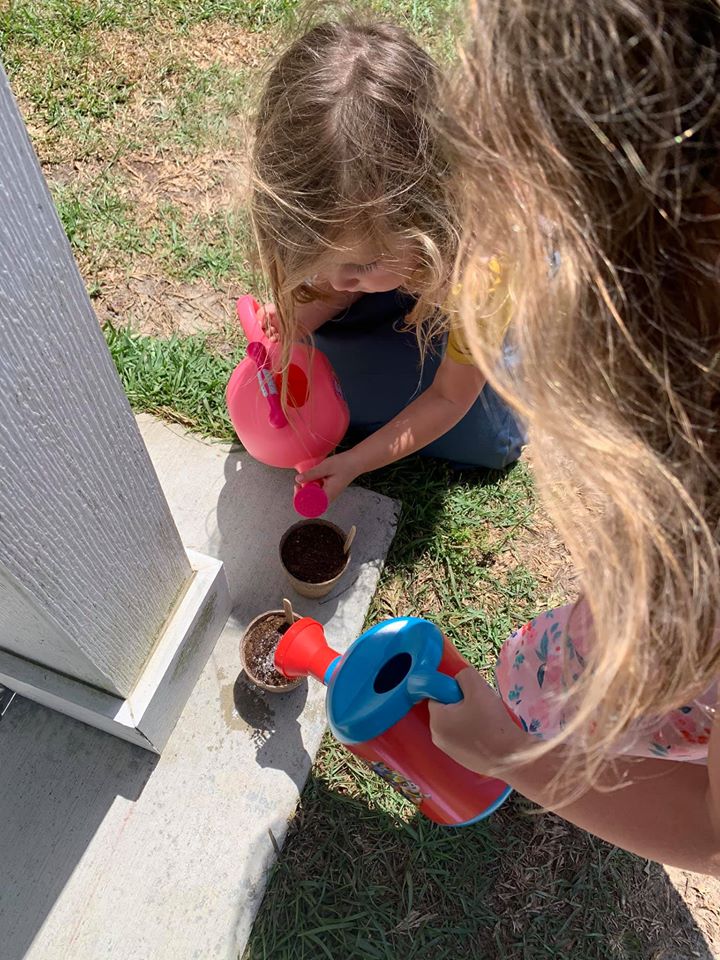
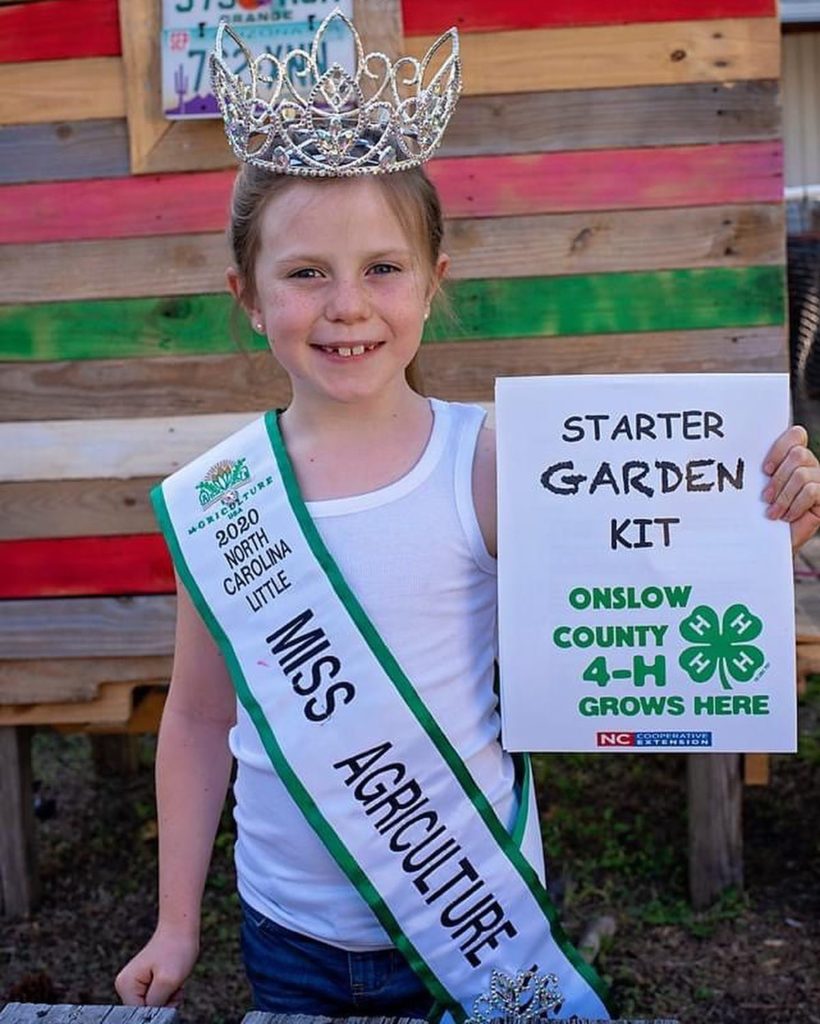
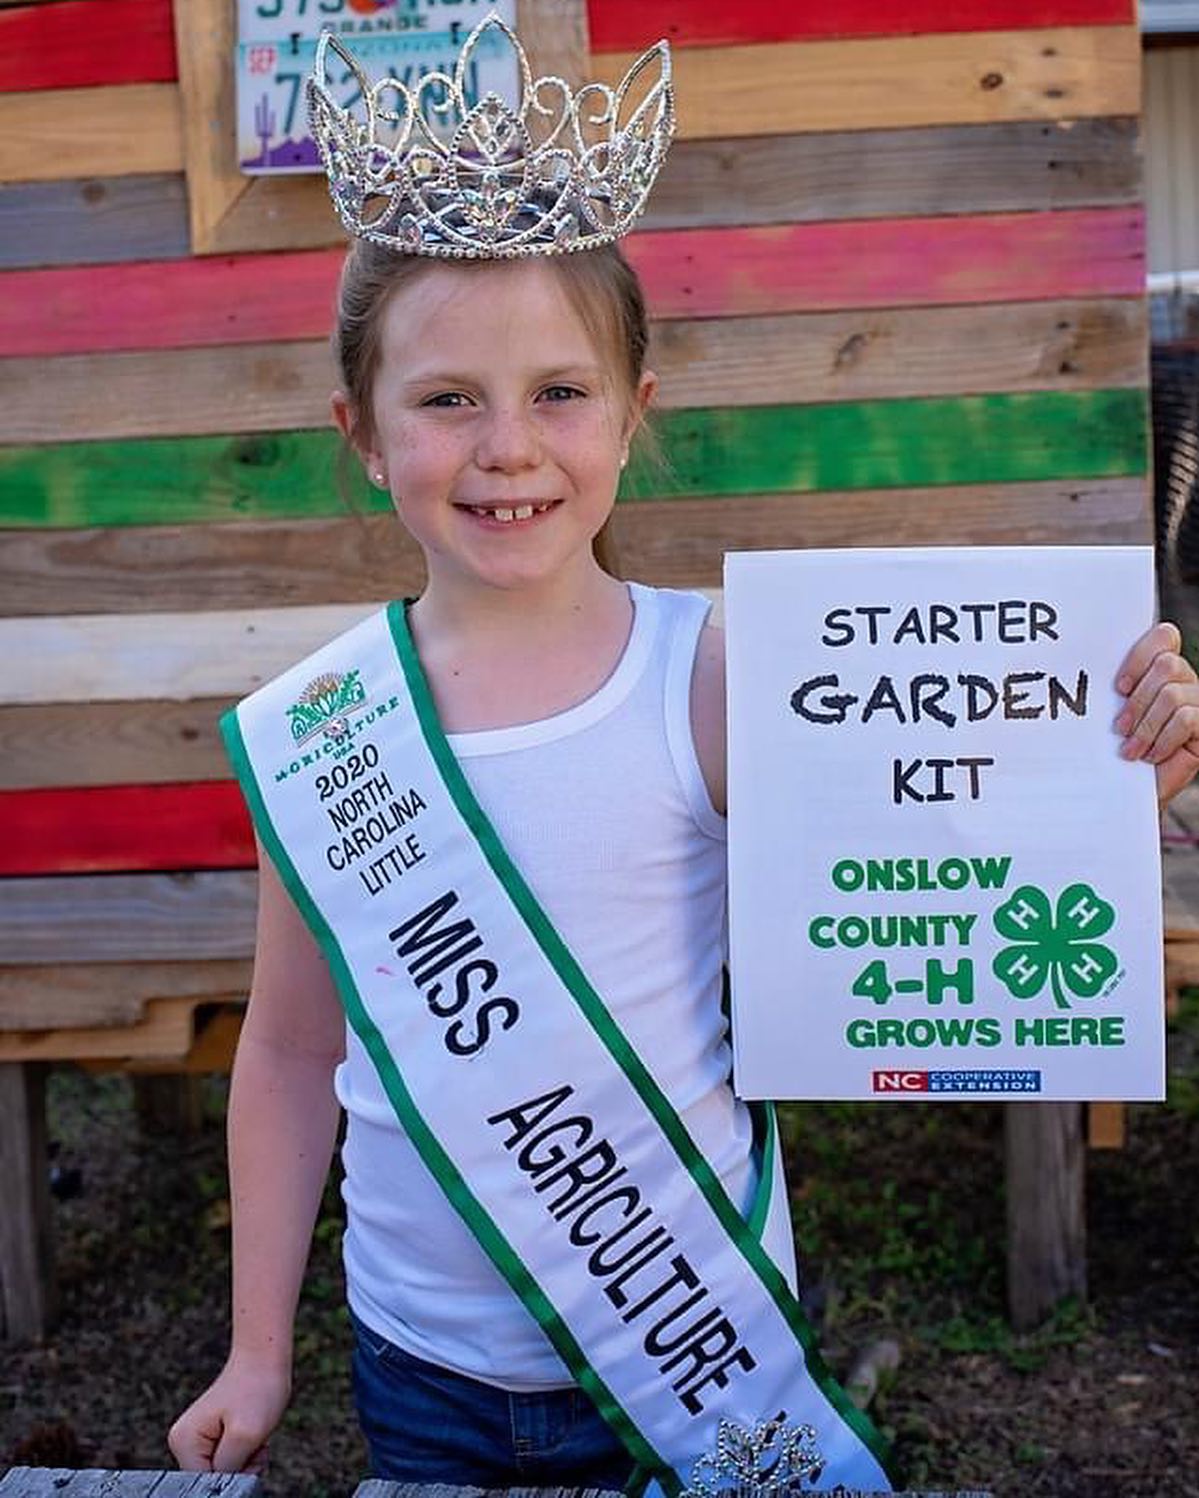
Check Out Some of Our Seed Kit Recipients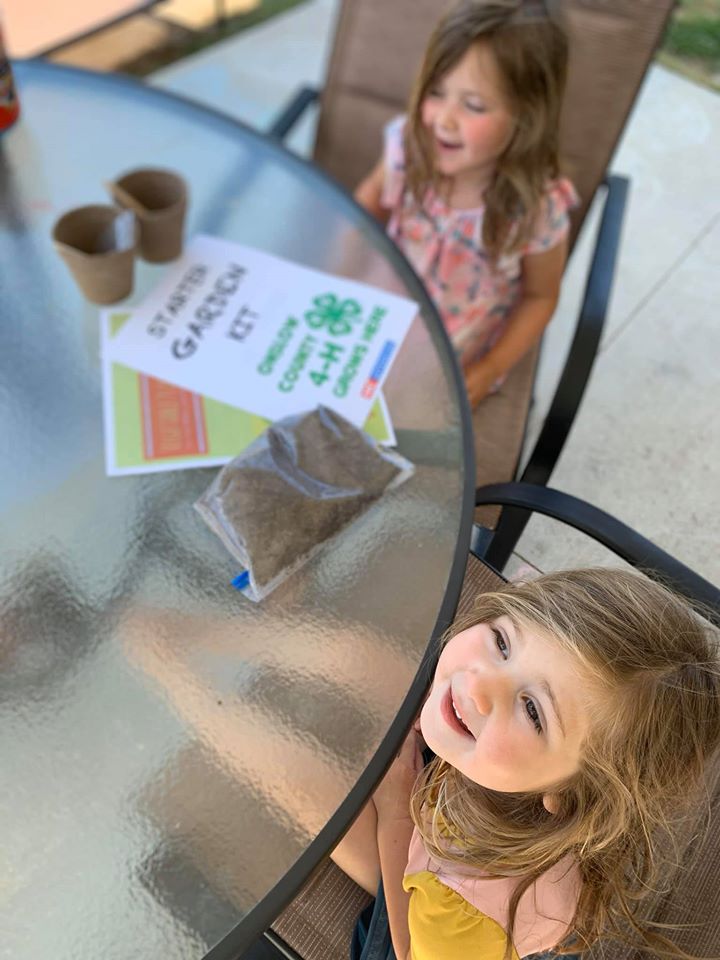

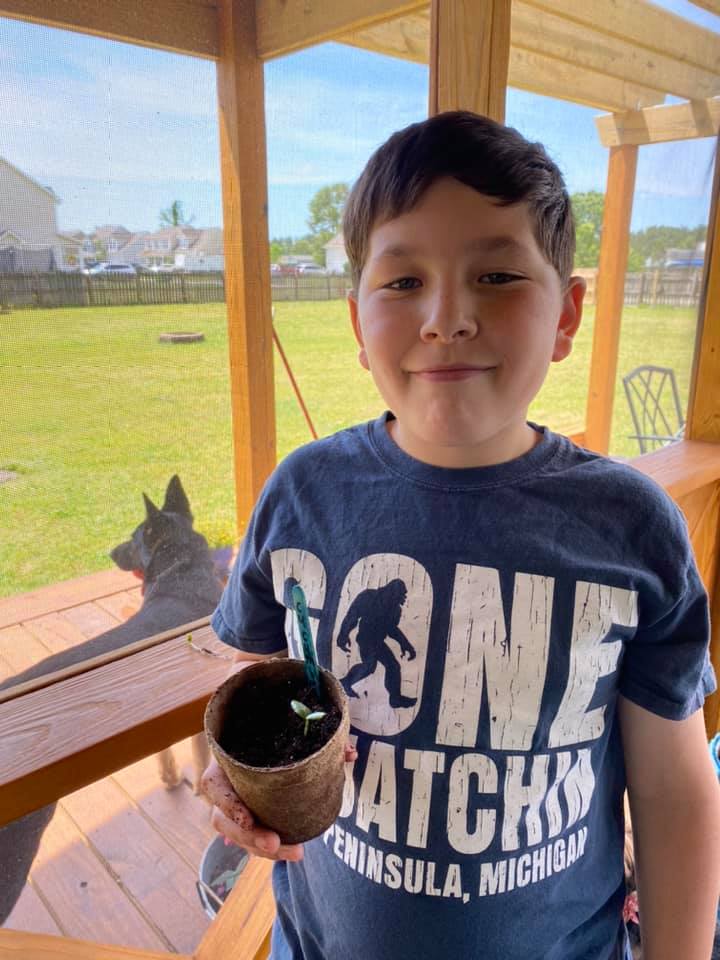

Seed Starter Kit Updates
If your family has received one of our starter seed kits check out the updates from our Water Quality and Ag Program Assistant, Casey Sandmeyer
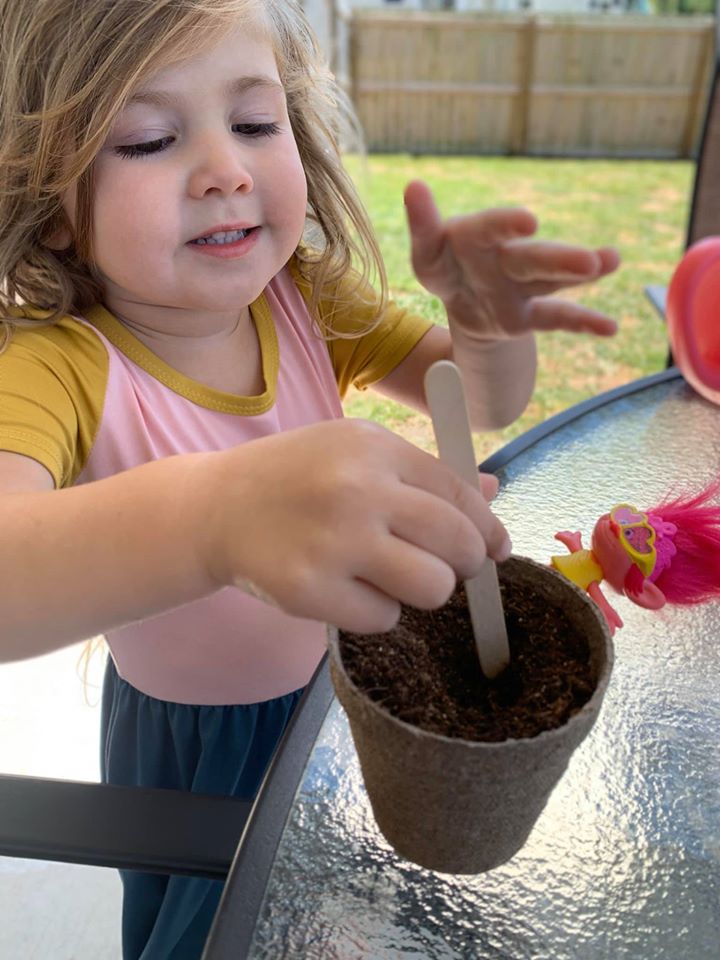
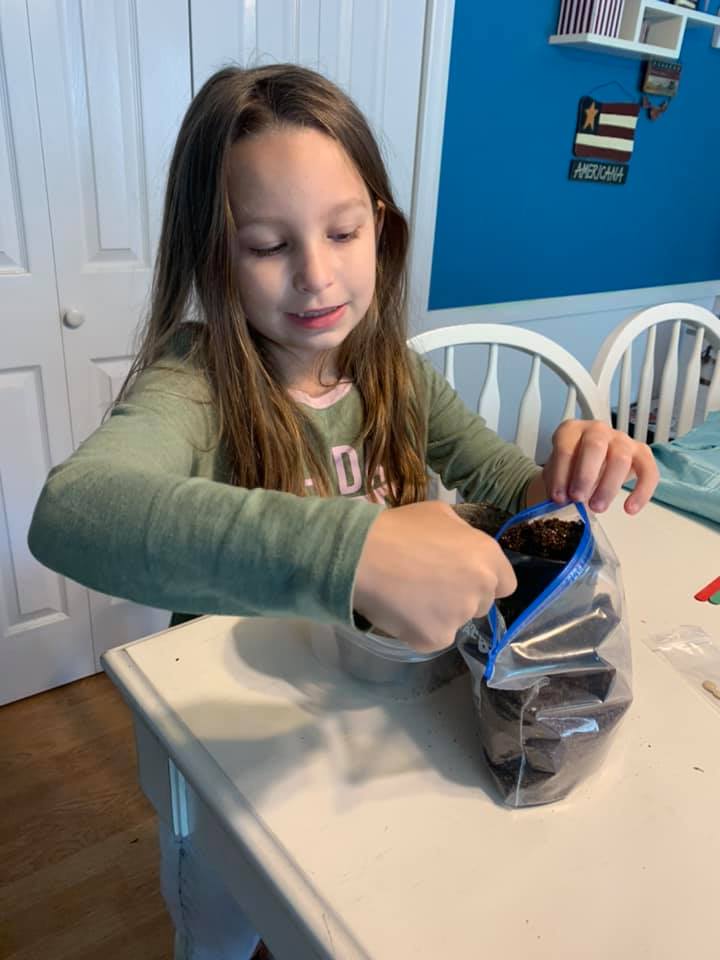
April 28, 2020 – The Beginning
Casey walks you through the process of starting your garden with our seed kits!
Be sure you’re checking on the seeds daily and keeping the soil moist!
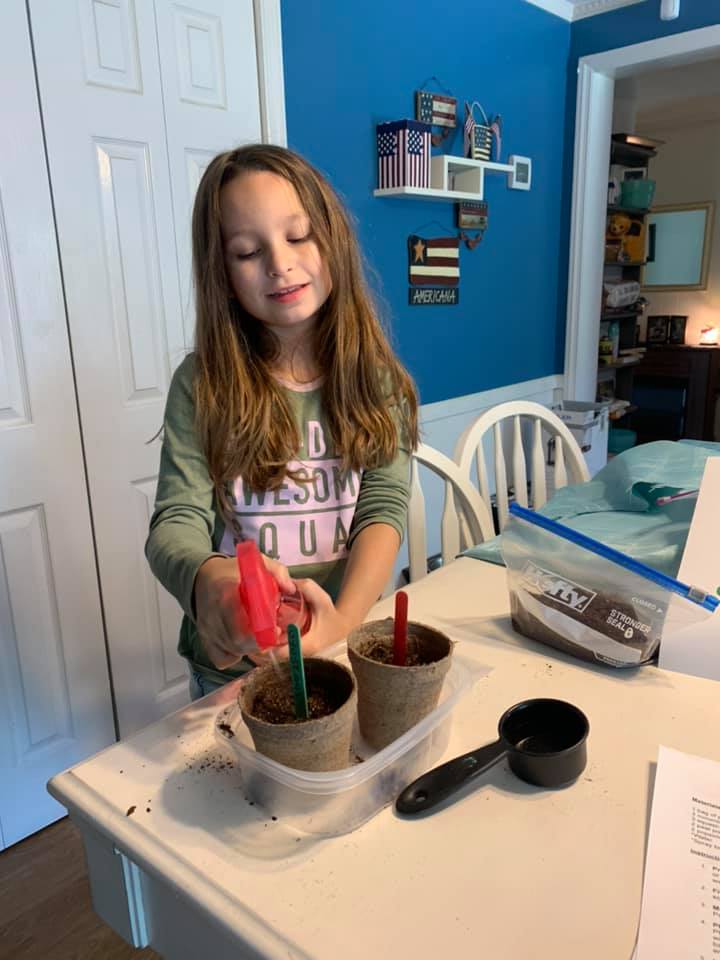
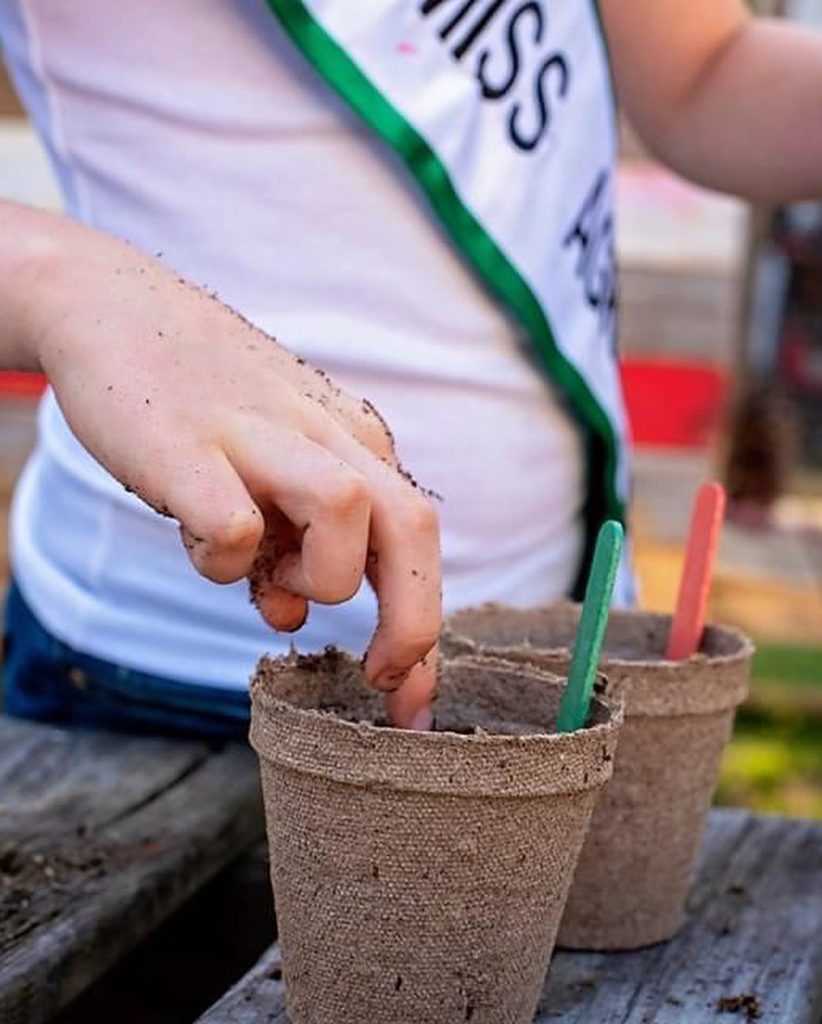
May 5, 2020 – Thinning the Seedlings
My seeds have germinated… now what?
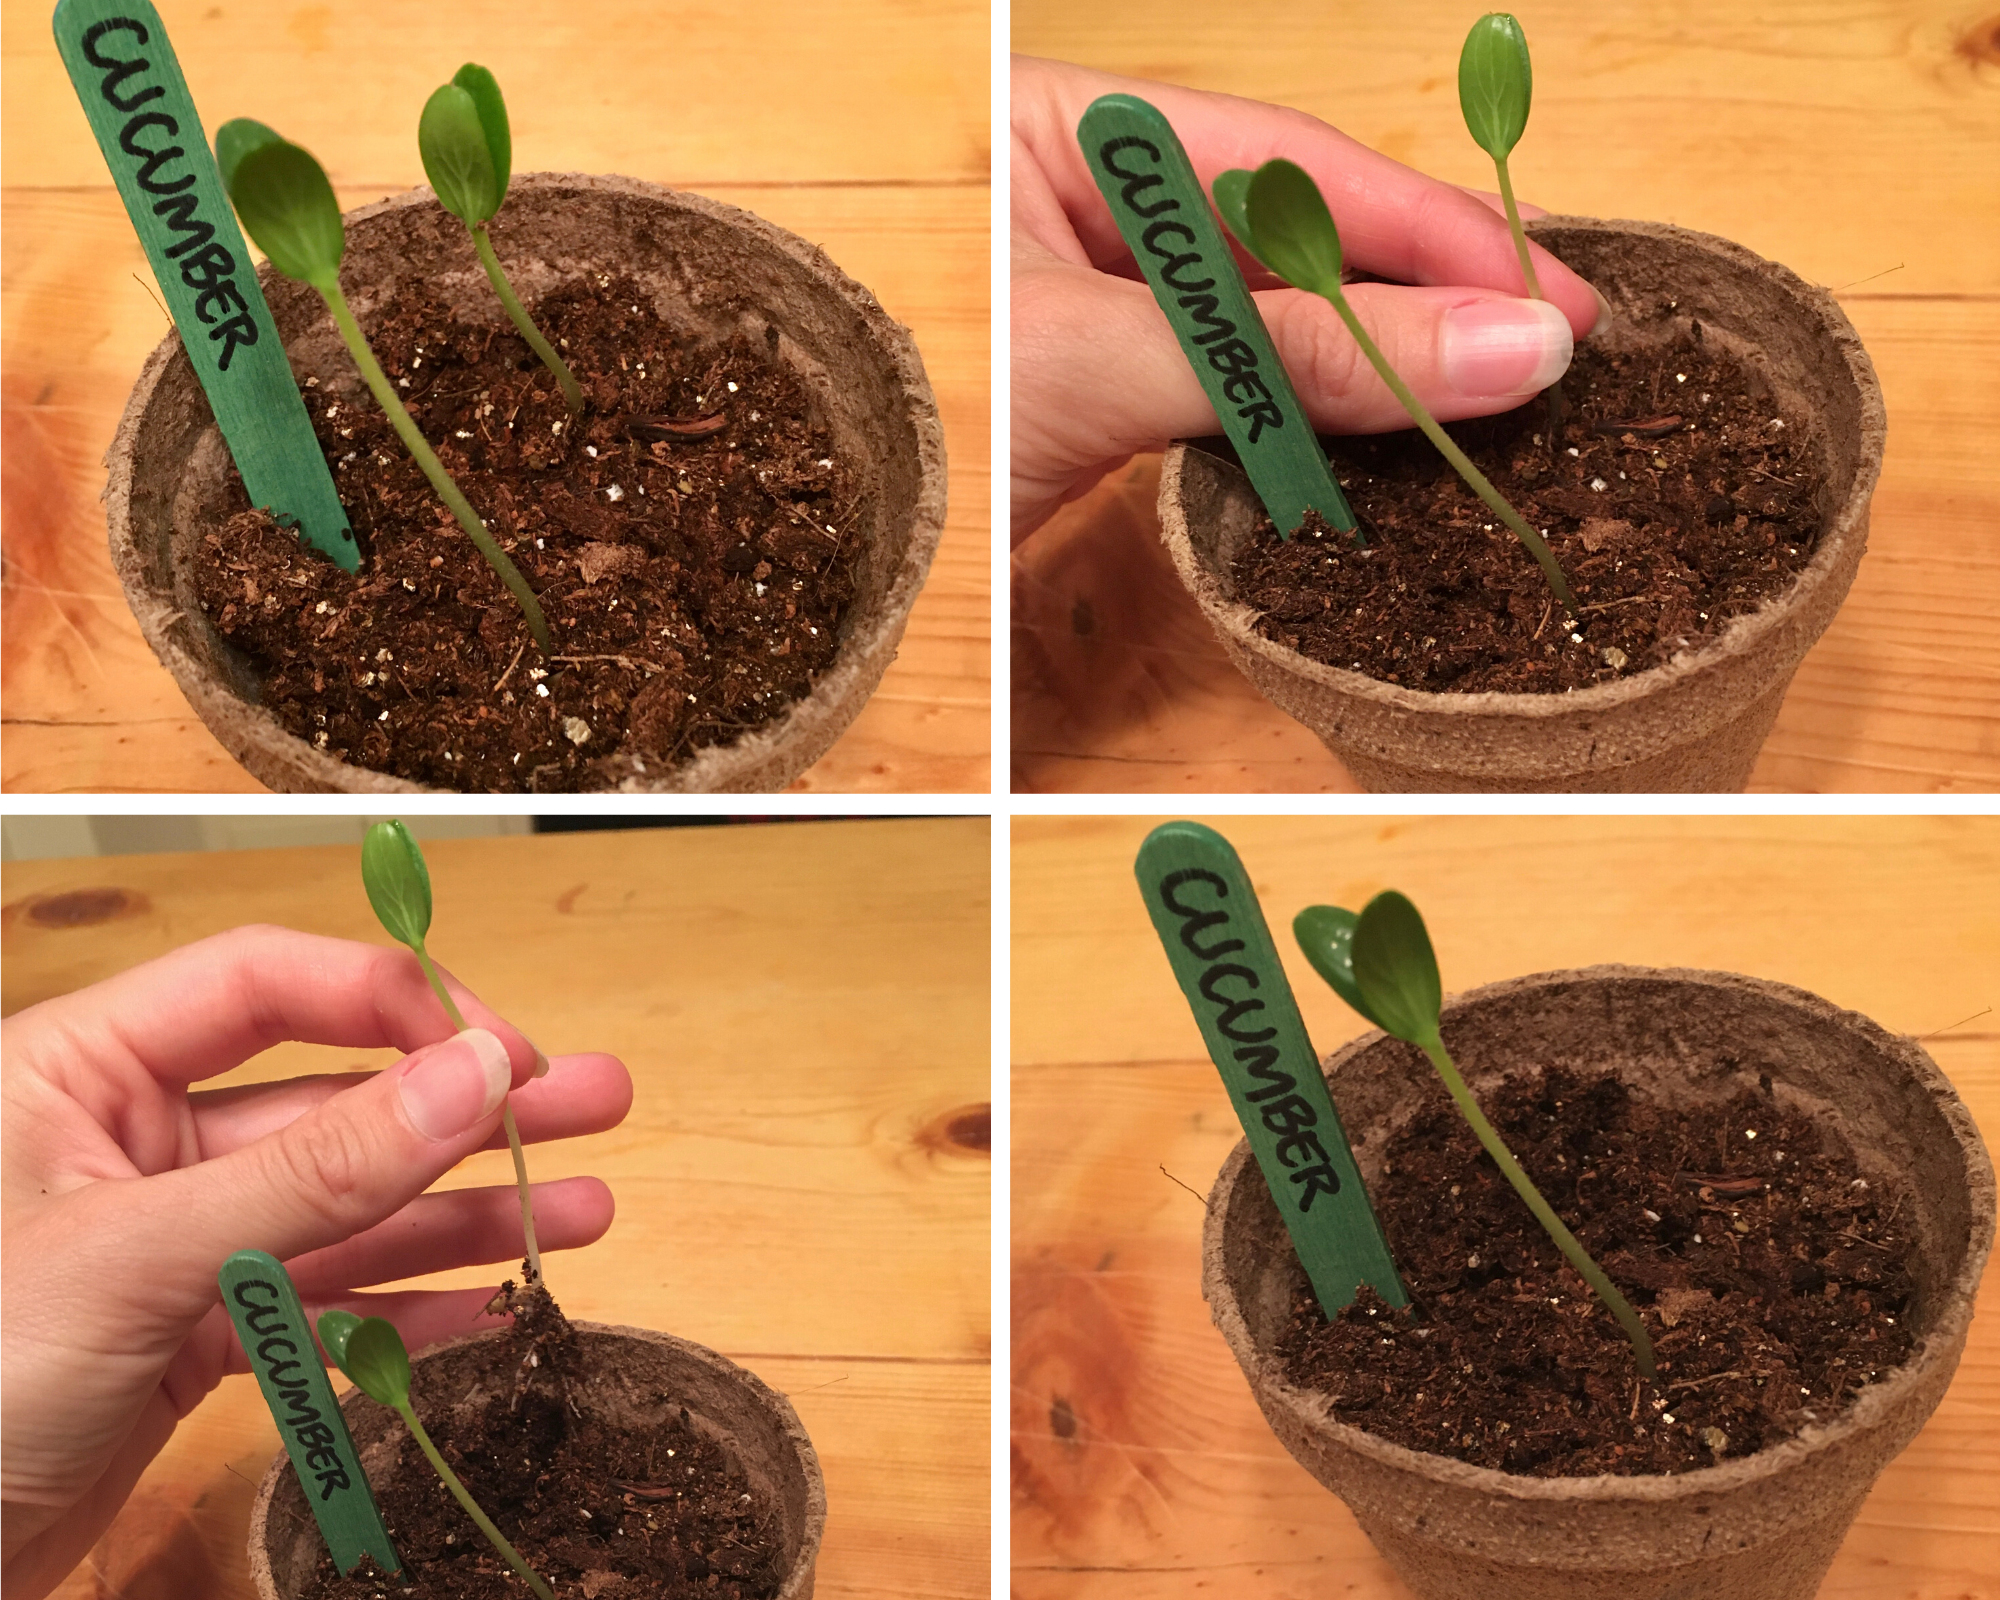
Once your seeds have germinated, the next step is to thin your seedlings. To do this you need to decide which seedling looks the healthiest, this is the one you will keep and plant. As shown in the photos above, the seedling I chose to keep is the taller of the two. Once you decide on the seedling you want to keep, gently pull the other seedling out of the pot. This allows the seedling you are keeping to grow tall and healthy without having to compete with the other seedling for water, soil, and sunlight.
Once the first set of true leaves emerge, we recommend watering your seedling with a diluted liquid fertilizer (e.g., Miracle Gro) every other time you water until ready for planting. The seedling is ready for planting when it has 1-3 true leaves and is a couple of inches tall. If your seedlings look “leggy” (have thin stems) that means they need to be moved to a location with more sunlight.
Check back in a couple of days for a tutorial on how to plant your seedlings in your garden! In the meantime, don’t forget to tag us and use the hashtag #GrowOnslow when posting about your Start a Garden Kit!
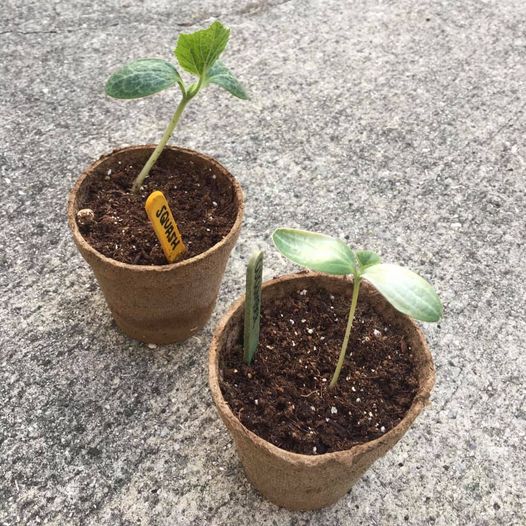
May 13, 2020 – When To Transplant
How do I know when my seedlings are ready for transplanting?
June 3, 2020 – Transplanting Your Seedlings
Today is the day! As you can see in the photo in the top right corner, there are 4 true leaves on my squash plant and many more coming. It is finally ready to be transplanted into my garden bed.
- Prepare the garden bed by making sure there is enough room for the plant to grow (2 ft. for squash; 10 in. for cucumber) and including a complete fertilizer into the soil before planting.
- Dig a hole to fit your pots. You want the soil in your pot to be level with the soil in the bed. Looking at my squash pot, the soil was slightly lower than the lip of the pot so I tore it off (see photo #2). The peat pots are made of dried plant materials so they can be planted directly into the garden bed because they will eventually biodegrade and become part of the soil.
- Place your pot in the hole, cover with soil, and water generously. Check-in on your plant every couple of days to make sure it’s getting enough water.
The squash will be ready to harvest 50-60 days from the time of planting. The optimal size is 4-6 inches long.
The cucumbers will be ready to harvest 50-65 days from the time of planting. The optimal size is about 6-8 inches long.